FAQ Q346: How can I use the Webex integration for meetings and webinars?
Section: Integrations with other apps and data import/export
 +
+ 
Configuration
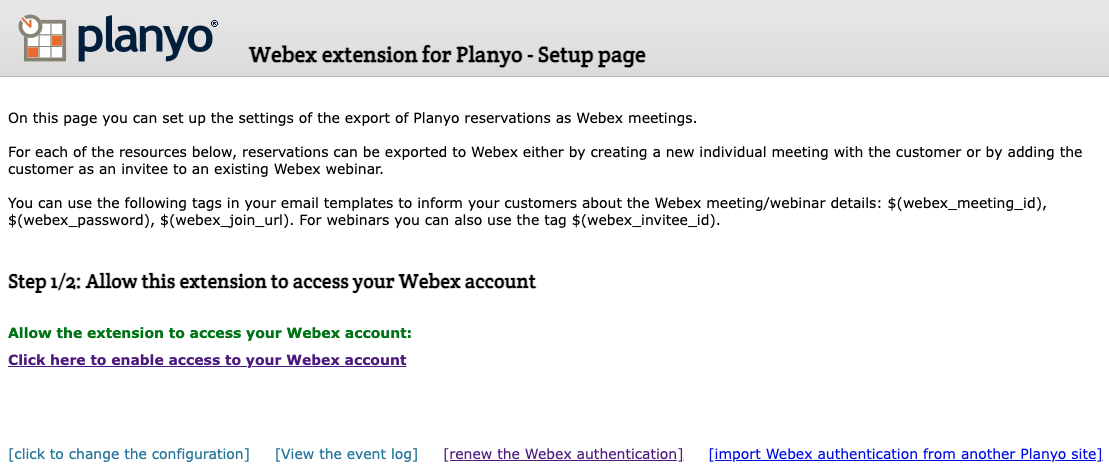
In order to get started, go to the Webex extension page and add the extension to your Planyo site. Then click the link to go to the configuration page.
On the extension setup page, you'll need to click on the link to enable access to your Webex account.

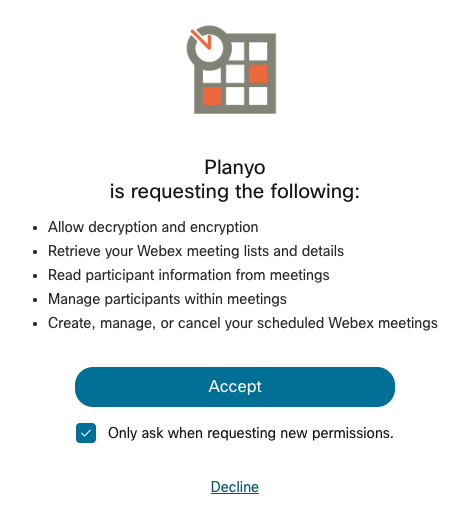
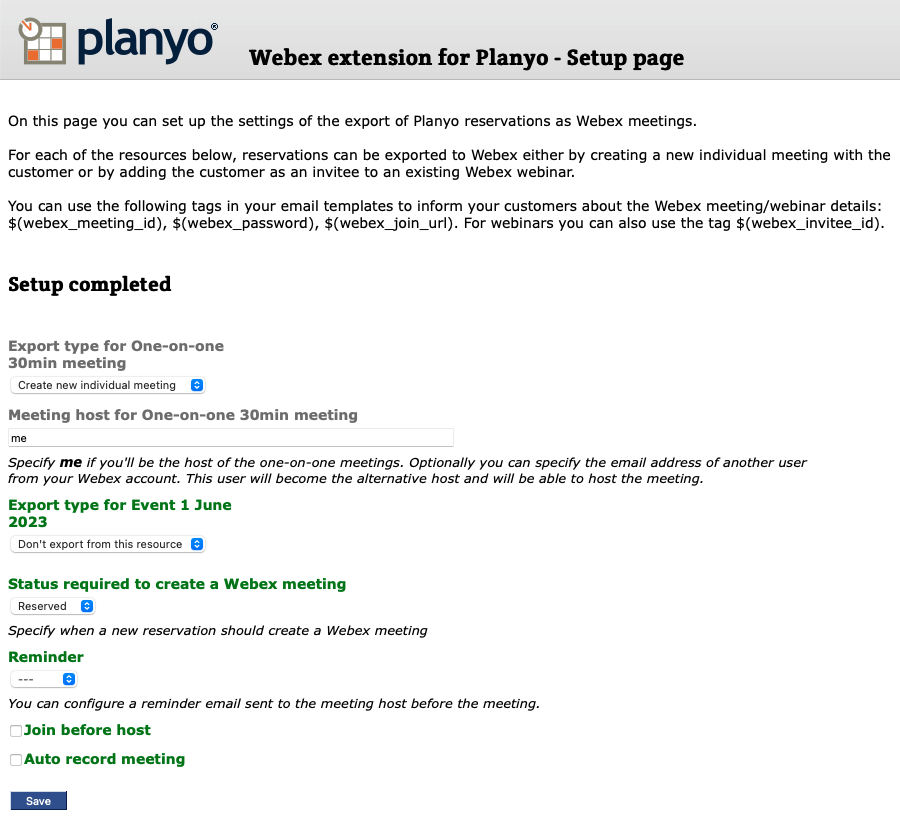
After confirming your permission for Planyo to access your Webex account, you'll be able to do the actual configuration:

The first section of the settings will list all the resources from your Planyo site. For each resource which you want to synchronize with Webex, you'll need to choose the export mode. It can be creation of a one-on-one meeting or adding an invitee to an existing webinar. You can also choose not to export reservations from given resource.
In case of the choice to add an invitee to an existing webinar, you'll need to select a specific Webex webinar (this is only available in paid Webex accounts). If in the future you add more webinars you want to use, you'll need to click the link to re-import the webinar list from Webex. If you choose the one-on-one meeting option, you'll need to specify the meeting host. Leave the default value me unless you want one of your employees to be the host (this works only with a paid Webex account). In such case enter the email address of the person who'll be the host, they need to be a registered user of your Webex account. In such case Planyo will set the person as the host so they'll be able to start and host the meeting.
In the second section of the settings you can choose the default settings of meetings newly created by Planyo. You can also specify if Planyo should do the export for all valid reservations or only for confirmed reservations.
Once the settings are set, Planyo will automatically do the export to Webex each time there's a new reservation as well as for modifications (admin- or user-initiated) and for cancellations. Note that the extension UI allows you to view the event log which logs all the actions Planyo performs on your Webex account.
Using the Webex data in Planyo
Once a reservation is exported into Webex (in each of the 3 possible modes), Planyo will record the meeting details including the meeting ID, meeting password and the join URL. They will be visible in the reservation details and you can use them in your templates and also in email/SMS notifications sent to your customer.You can use the following tags to print Webex meeting/webinar details: $(Webex_meeting_id), $(webex_password), $(webex_join_url). For webinars you can also use the tag $(webex_invitee_id).